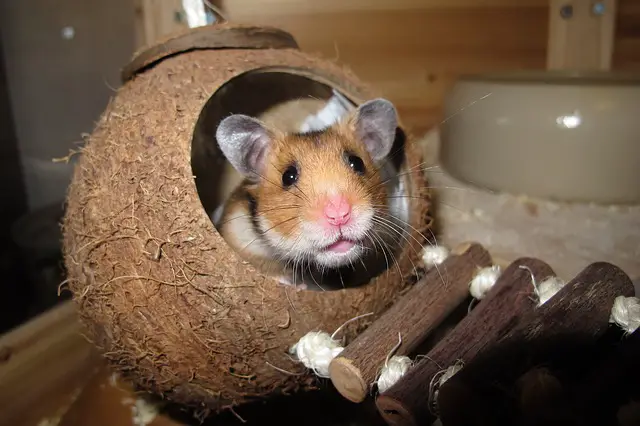
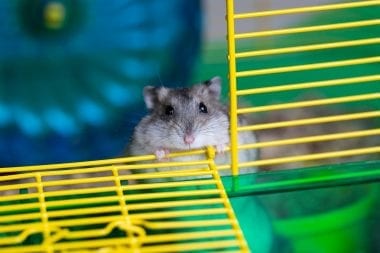
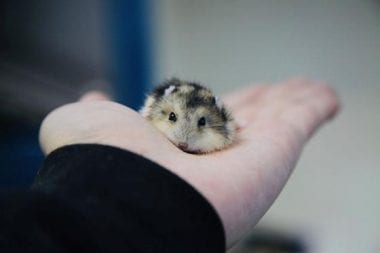
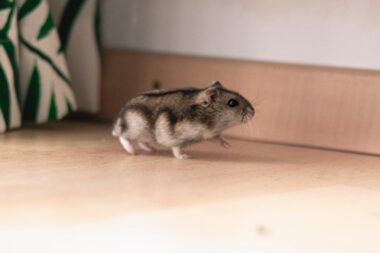
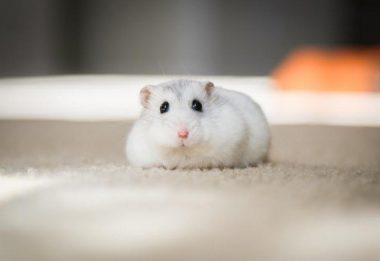
Hamsters make for adorable companions and are extremely sociable pets. These furry critters are excellent pet companions for individuals and families with young children. Hamsters thrive in a sizeable and well-designed cage that provides them with safe spaces for nesting, sleeping, and burrowing. A good home cage for a hamster will also have a feeding and drinking station, safe and comfortable hiding and sleeping spots, and a fun play area.
Hamsters are highly energetic little creatures, and a well-designed cage will ultimately have its limitations. Your little rodent friend will require some more stimulation and exercise to release and channel its abundant energy through play. But you cannot leave little hamsters unsupervised or they tend to escape. Here is where a hamster playpen comes in!
A hamster playpen is a well-structured, interactive, and exciting play area that is secure for your hamsters to explore and entertain themselves outside the confines of their cages. Playpens offer hamsters loads of stimulation, exercise, and opportunities for play. A wide range of options is available in commercial pet stores and online. But with a reasonable budget and some basic materials, you can make your very own hamster playpen! This article takes you through the simple steps of how to make a hamster playpen and your furry critter will have a whole new world to explore in no time.
How to Make a Hamster Playpen
Before we get into the steps of how to make a hamster playpen, you will need to gather some basic materials to build and secure the structure of the playpen. You can also gather some recyclable materials that you may have lying around your house to add some play toys for enrichment and excitement. You will require:
· Corrugated plastic sheets or plastic interlocking storage cubes or a large plastic container with tall sides
· Large cardboard storage boxes (Beginner friendly)
· Binder clips or cable ties or duct tape
· Scissors or a cutter
· Old plastic bottles, cans, toilet paper or kitchen towel tubes, wooden blocks, etc.
· Exercise wheel or a hamster ball
Building the Structure
When deciding how to make a hamster playpen, the structure of the playpen must be safe and secure so that your hamster can safely explore. The materials used must not allow your hamster to climb out of the playpen or chew through it. Corrugated plastic sheets or plastic interlocking storage cubes are a great option for building the structure of the playpen. The slippery plastic panels will ensure your little friend doesn’t climb over or chew through it. The plastic sheets can be cut according to size depending on your choice for the size of the playpen.
A large plastic storage container is another great option. These containers come with a lid. But make sure to avoid closing the container when your hamster is inside the playpen unless you have provided adequate holes for ventilation.
Before securing the plastic corrugated sheets, decide on the size of the playpen. Ideally, a playpen should be bigger than the hamster’s cage to allow for a sizeable play and exercise area. The playpen will also need to fit well on your home floor. When it isn’t being used, the playpen will need to be disassembled and stored away safely. Keep these points in mind when deciding the best size for your hamster playpen.
Once you have decided on the size of the playpen, you can cut out plastic sheets of suitable sizes and fasten them with binder clips, cable ties, or even duct tape. Corrugated plastic is not only durable but also easy to clean and slow to stain. Binder clips or cable ties are a great option to secure the plastic panels are they allow for quick and easy assembly and disassembly.
The playpen should be ideally kept on a tile or linoleum-lined floor. This makes it much easier to clean after your hamster has retired from the playpen for the day. An exposed floor is ideal for cleaning up instances of pee or poop in the playpen area as well. However, if an exposed floor for the playpen is not an option, especially if your floors are lined with carpets, then you can include a plastic bottom for the playpen structure. The bottom can be made from plastic corrugated sheets and secured to the walls of the playpen. A bottom sheet is also useful if you want to easily move the playpen and all its contents at once to another area of your home.
How to Make a Hamster Playpen as a Beginner
If you are venturing into the world of hamster enrichment and find the task of building your own playpen a bit daunting, then large cardboard boxes may be the answer for you. If you have purchased any large kitchen or electronic appliances like a microwave, television set, printer, etc., the boxes are a good starting point to make a playpen. However, cardboard isn’t the ideal hamster playpen material. Hamsters can easily chew through cardboard and escape. Cardboard is also not durable and is difficult to clean as it absorbs hamster pee and poop. You will need to line the bottom of the cardboard box with plastic bags or garbage bags to protect your floor from pee stains.
You will eventually need to move to a more durable material. Remember that a cardboard playpen is a temporary structure. But it is also a great place to start, learn and experiment on your playpen designs!
Enrichment, Exercise, and Toys
What would a playpen be without toys?! A great playpen would have sufficient space for exploration, exercise, and play. A real cost-effective way to make your toys is to look through your recyclables for anything that can be fashioned into pipes and toys for your hamsters. Old plastic bottles, cans, toilet paper tubes, or kitchen towel tubes are great for making toys.
Plastic bottles and cans can be joined together to make exciting mazes for your hamster playpen. For this, the cans or bottles will need to be thoroughly washed and dried. You can either cut off the top or bottom or both ends of the cans or bottles. The cut edges can be sharp and can cut into your hamster’s skin. You will need to blunt the edges using duct or electrical tape. Once the cut ends are made safe, you can connect the cans or bottles using the same duct or electrical tape to make long mazes. Alternatively, you can cut holes in the sides of a bottle or can, secure the edge with tape, and attach a second bottle through the hole to make angular mazes.
Your playpen can also include multiple levels for your hamster to climb on or jump down from. These levels can be made from small boxes, tins, wooden blocks, or cans and can be secured or fastened to the walls of the playpen. All recyclables must be thoroughly cleaned before use and the cut edges must be blunted with tape.
Your playpen must also have a safe hiding spot for your hamster. Use an old box to create a safe sleeping or hiding space for your little friend. Hamsters can scare easily with sudden sounds or noises. A hiding spot will help your hamster feel safe and confident in the playpen.
Any hamster playpen will be incomplete without a play and a feeding station. While the purpose of the playpen is to give your hamster more room to explore, your hamster will also need some physical and mental enrichment to keep frustration and boredom at bay. Create a fun and exciting play station using some cardboard tissue rolls, wooden blocks, old shoes, or boxes for your hamsters to jump on or simply chew. You can also move your hamster’s exercise wheel to the playpen or install a freestanding wheel in the center to give him a novel experience. Ensure the wheel is made from a continuous strip of material and not from wires or tiny bars. Your hamster’s tiny feet can get stuck in the bars or wires, and they can cause serious injury.
A hamster ball is another great alternative to the exercise wheel. A hamster ball is a large plastic ball with a hatch or tiny door that opens and closes to let your hamster in and out. Once your hamster is inside the ball, you can safely secure the hatch or close the tiny door. The outside is a smooth hard surface that will roll in any direction that your hamster runs towards. A playpen will keep your hamster within a safe and bounded space as he uses the ball.

A feeding station with a water dispenser and some treats will ensure that your hamster has easy access to some food and water to replenish the energy spent on playing. You can fit in an exciting treat or food puzzle or maze using the cardboard boxes and bottle mazes that you have already installed in the playpen.
How to Supervise Playtime
Hamsters are little balls of energy and must not be left unsupervised in their playpens. They can easily get stuck in places such as tunnel mazes or cardboard tubes. Pee and poop accidents will also need to be attended to in the playpen. Ensure that the door to the room is safely shut and any other pets, especially cats and large dogs, are kept away from the playpen during your hamster’s playtime.
Hamsters can also easily exhaust themselves during play. When using the hamster ball, ensure that your little furry friend is in there for no more than 10-15 minutes. After using the exercise wheel or ball, give your hamster some time to rest. Overall, your hamster should be in his playpen for no more than 30 minutes a day. This is sufficient time for your critter to stretch his legs and get some exercise in. Always maintain good hygiene when handling your hamster and be sure to transfer him safely to his cage before you disassemble the playpen.
A good playpen is not that hard to build. It is an exciting DIY project you can take on with the kids and is a wonderful addition to your hamster’s growth and enrichment. The next time you think about how to make a hamster playpen, be sure to follow these steps for making an amazing playpen for your little friend!
