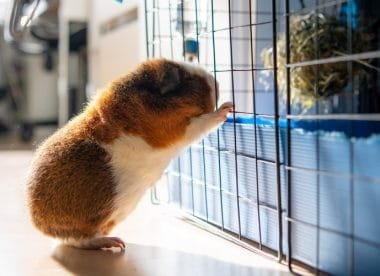
Hamsters, no doubt, make for adorable household pets. If you had a hamster as a child, you probably remember them as being easy to look after and care for. However, hamsters are pretty active animals and require a substantial amount of care and exercise to avoid boredom and poor health. Cages are the most popular home and nesting option available for hamsters. Hamster cages come in a variety of sizes and levels. They are also equipped with exercise wheels, toys, and tunnels for enrichment and exercise. Wooden hamster cages are not as popular and common as acrylic and glass cages. But they are relatively cost-efficient and provide a perfect opportunity to engage in a DIY project that you can personalize for your furry companion!
Building your own hamster cage out of wood requires some patience, practice, and basic knowledge in DIY construction projects. However, with some clear guidelines and instructional steps, you can build your very own hamster cage out of wood from scratch. Unlike the expenses involved in constructing and maintaining acrylic and glass cages, you can repurpose wood from old and broken furniture to make your own hamster cage out of wood. This article outlines 8 easy steps to build your very own hamster cage out of wood. But before diving into the project, there are some things you will need to keep in mind when building your hamster cage.
Things to Remember When Building the Perfect Hamster Cage
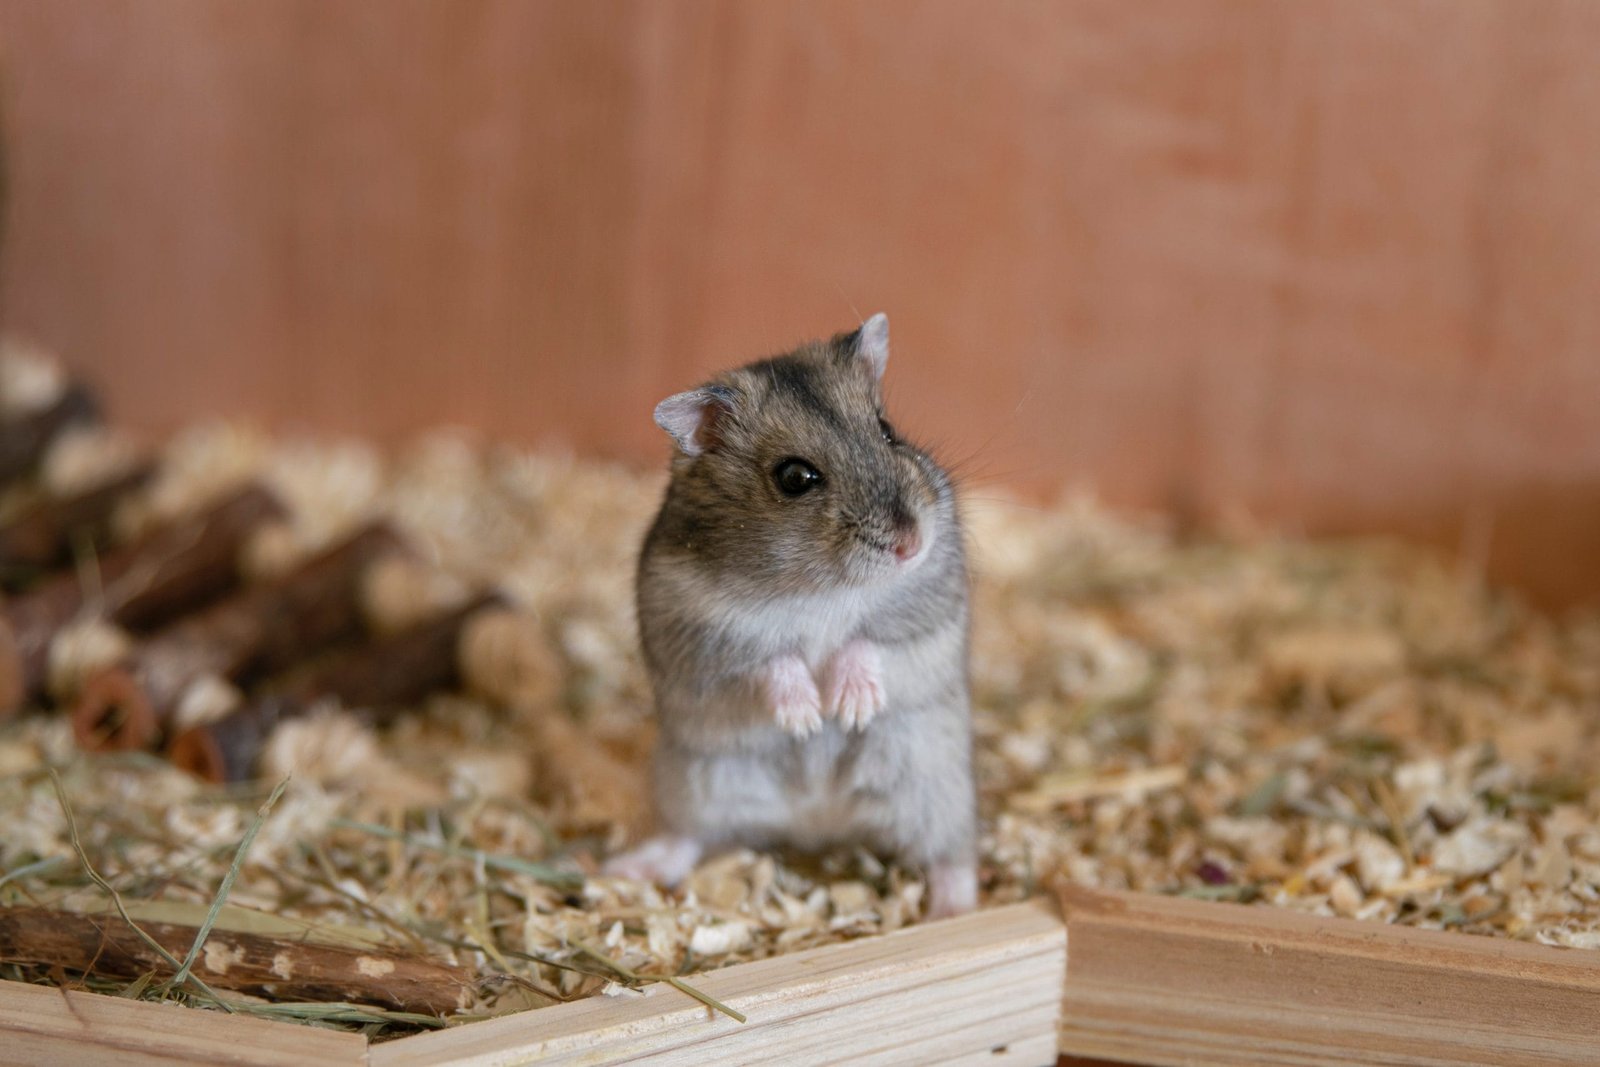
Hamsters are active pets that require a good amount of space to explore and exercise. They are fond of digging and climbing. It is important to ensure that the size of your cage is according to the size and breed of your hamster. As a general rule, bigger hamster breeds will require larger cages and more floor space to contain their bedding, toys, and feeding areas. You will also have to ensure that the material used is leakproof, sturdy, and non-toxic to ensure the safety of your pet. Cages with wide, plastic bases, wire mesh walls, and a minimum of two levels are ideal for most breeds of hamsters. An ideal hamster cage will include:
- Sufficient nesting boxes and sleeping areas
- Tunnels, tubes, shelves, and interactive toys to keep them active and entertained
- A plastic wheel is ideal for exercise
- Gnawing blocks, hay, or soft, non-toxic wood branches to help them gnaw on and wear their teeth down
- Sawdust for burrowing and digging at the bottom of the cage
While you can choose to buy a ready-made hamster cage of wood, glass, or acrylic from the market, nothing comes close to the satisfaction of building a personalized home for your furry friend! While a DIY wooden hamster cage will require a bit of effort and patience, you can easily source the materials you will need. You can make a hamster cage by selecting quality non-toxic wood and building a suitable wooden structure depending on your hamster’s breed. You can even repurpose old and second-hand furniture into a brand-new hamster cage. Follow these 8 simple steps to build a hamster cage out of wood.
Step 1: Selecting the Building Materials
Before building a hamster cage out of wood, you will need to determine what materials you will need. More importantly, you will have to decide about what wood you will use to make the cage. You will have to choose the wood that is safe, non-toxic, waterproof, and laminated. These include cost-effective melamine boards that have a plastic surface or thermofoil that is covered with vinyl. It is always safe to apply a protective coat of non-toxic varnish to the wooden surface. This ensures that it is waterproof and prevents your hamster from chewing into the surface layer of the wood.
Raw wood that is sold in hardware stores is also safe for building hamster cages. Although you will have to seal it with varnish to waterproof it and prevent hamster urine from soaking into the wood. While solid pine wood is safe for hamsters, it is best to avoid certain types of aromatic softwoods such as pine and cedar. They contain high amounts of lignin – a polymer in plant cells that degrades to produce phenols. Phenols are natural chemicals considered to be potentially toxic for hamsters. Hardwoods such as oak and walnut contain high amounts of tannins – a derivative phenol compound. Tannins could be toxic for hamsters in high concentrations and with long-term exposure.
Plywood, particle boards, and Medium Density Fiberboards (MDF) are also best avoided. They use adhesives that could be potentially dangerous for your pet if it gnaws or chews through the wood. Ensure that you seal and waterproof the wood you use to build the cage. This can be done using linoleum, laminate tile or flooring, adhesive vinyl or contact paper, 100% Tung oil, or water-based polyurethane or polyacrylic. The latter three are food-safe and take about 30 days to cure completely. If you are using paints, it is important to remember that you must choose water-based, non-toxic paints with zero or no Volatile Organic Compounds (VOCs).
When selecting a wire mesh for the walls, ensure that you select paint-free mesh that is close enough to climb but keeps your hamster from running out.
Step 2: Choose your Tools
Once you have selected the materials that you will use to build the cage, you will need to keep your tools on hand. You will need:
- A jigsaw
- A hand drill
- A hammer
- A screwdriver
- A stapler
- Nails and screws
- Staple pins
Step 3: Measure your Woodwork
Once you have kept your tools and instruments handy, you reach a crucial and important part of the building process – measuring your woodwork. Remember that the size of your cage depends upon the age, size, breed, and activity levels of your hamster. As a thumb rule, the larger the breed, the bigger will be the cage needed to provide ample space for play, exercise, feeding, and rest. Your measurements will depend entirely upon the requirements of your specific hamster. Your measurements and material requirements will also change according to the design and number of levels in your cage. You can refer to ErinsAnimals or Instructables for detailed measurement guides on DIY wooden hamster cages.
In general, you will require two planks of wooden material for the flooring, linoleum or sealing material, wooden sticks of varying lengths to reinforce the structure, and wooden planks for shelves. You will also need reinforced corners made from pine or beech to protect the structure from your hamster’s gnawing and wire mesh for the sides of the cage. Once you have measured the various parts of your cage, you will need to cut the wood into the proper sizes using a jigsaw. Ensure that you waterproof the wooden planks using linoleum or varnish material.
Step 4: Lay the Floor of the Cage
Once the wooden planks are cut and waterproofed, you can now lay and adjust the floor of the cage. Ensure that the wooden planks are cut to size and then screw the planks in carefully. This will serve as the floor of the cage where you will put your hamster’s bedding and sawdust for burrowing and digging.
Step 5: Build the Structure of the Cage
Once the floor has been secured, you will now need to build the structure of the cage. You will need to drill the corners of the floor plank to position the wooden sticks that will become the frame of the cage. Once you have drilled the wooden floor plank, position the wooden sticks and screw them in tightly to the corners of the base.
Once the wooden sticks are in place, you will need to complete the upper frame. You can either use a wooden plank or make a frame of wooden sticks. For this, you will need to drill the top of the wooden sticks placed on the corners of the floor plank and screw on the upper wooden frame or plank. Now the structure of your cage is ready!
Step 6: Reinforce the Corners of the Cage
Once the structure is ready, you will have to reinforce the corners of the cage. Here, you will use the reinforced corners of pine or beech and nail them down to the corners of the first level of your cage. Similarly, you will reinforce the corners of the second level as well as the wooden sticks in the corners of the floor plank. Once the corners have been reinforced, you can place additional wooden sticks along the bottom length of the cage to prevent sawdust or litter from spilling out of the cage.
Step 7: Secure the Cage with Wire Mesh
Once the frame of the cage has been completely reinforced, you can now move onto the external part of the cage. You will need to secure the entire frame of the cage with wire mesh. Ensure that the wire mesh that you use is close enough for your hamster to climb on, but not wide enough for it to escape. The wire mesh should be placed tightly around the exposed parts on both sides of the cage and should be secured using staple pins. Alternately, you can also use wire mesh to create a top cover for your hamster cage and secure it safely to the frame using a stapler. Wire mesh is great to protect your hamster from other pets such as dogs and cats that you may have in your home.
Step 8: Enrich your Cage
Once the structure of the cage is complete, you can now enrich your cage for your little furry friend! You can do this by adding tubes, tunnels, and various interactive toys such as ropes, ladders, and boxes for an enriching home environment. A plastic exercise wheel will ensure that your hamster never gets bored and gets all the exercise it requires to maintain a healthy and active lifestyle. You can add some sawdust or biodegradable vegetable hemp litter to the bottom of the cage to meet your hamster’s urge to burrow and dig. Ensure that you also add sufficient nesting boxes for rest and dedicated feeding spaces for food and water.
Avoid changing the layout of the cage too frequently as this can stress your hamster out. But do maintain a consistent and regular cleaning schedule to prevent your furry little friend from getting sick or infected by dust or bacteria.

Step 9: Maintain Your Hamster Cage
Once the cage is ready and enriched, introduce your hamster to its new home. Place the cage in a calm and quiet area of the room as hamsters get scared and stressed by loud and sudden noises. Make sure that you place the cage in an area that is relatively warm, away from draft and direct sunlight. You will need to check that the cage is well-secured, especially at the corners, as hamsters can escape easily.
After allowing for sufficient time to adjust to its new home, you must clean the cage regularly and consistently. Ideally, you must clean your hamster’s cage about once a week. This must include changing the bedding, sawdust, or vegetable litter, and cleaning the food and water dispensers. You must deep clean the cage at least once a month to ensure hygiene and prevent your hamster from developing any bacterial disease or infections. You can also change or add additional interactive toys for your pet depending upon its age, activity levels, and exercise requirements. Overall, a well-kept cage will ensure that your hamster remains happy and healthy!
Wooden cages are not only cost-effective and secure, but they are also easy to clean and care for as compared to glass and acrylic cages. The bonus of building your own cage also means that you can design it to meet the needs of your pet. So what are you waiting for? With these 8 simple steps, you can now build your very own personalized home for your hamster!