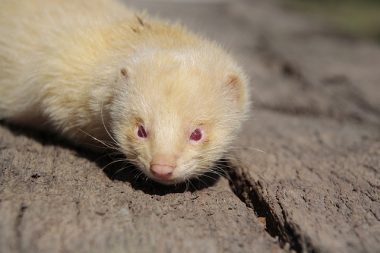
Ferrets are rapidly becoming popular pets for families who want an entertaining, fun, and affectionate pet. Ferrets might not be ideal for first-time pet owners- however, they will certainly fit into many families when they are taken care of correctly. You’ll enjoy hours of entertainment and will be rewarded with plenty of affection from these adorable tiny animals. Read on to know how to build a ferret cage.
Here are some quick facts about ferrets:
Ferrets are best kept in a neutered pair or small groups. They are predators, so they shouldn’t be kept with small pet households like rabbits or rats. Ferrets are carnivores. Ferrets require a vaccination annually for K9 distemper. Also, they should receive preventative treatment for fleas at least every three months. With proper care, ferrets can live up to 10 years. Ferret’s nails are extremely sharp and require clipping every 6 to 12 weeks. Ferrets can make extremely loving and devoted pets.
Ferrets are curious and experience short bursts of energy, making them want to climb, run and investigate their surroundings. They also sleep for about 16 to 20 hours every day. If you can create a comfortable and cozy space, it is possible to ensure your ferrets feel happy, filled, stimulated, and content.
A ferret enclosure of reasonable size can cost quite a bit, and the cheaper ones are usually devoid of fun and lack space. Have you ever taken a look at the best ferret cages on the internet and thought about how to build a ferret cage? You can make one at home at a fraction of the expense. Below, you will get an elaborate plan on how to build a ferret cage to help you design your ferret’s abode.
Plan The Cage
Before learning how to build a ferret cage, you need a blueprint of the requirements. Simply constructing an enclosure for your ferret might not be the optimal choice. Ferrets are natural escape artists, and making a cage they cannot break free from can be challenging. They’re extremely adept at escaping, chewing, and squeezing themselves through tiny gaps.The best ferret cage allows them ample space to move around, both horizontally and vertically. It gives your ferrets the room to play and run around and keeps them safely in until you decide to let them out.
Planning is the initial and most important step to take when you’re trying to build anything, let alone an elaborate multi-floored ferret enclosure. Without planning, you’ll end up wasting your time and resources. Planning includes many elements like the space, nesting, water, food dishes, play areas, a litter box, etc. In addition, you should select the best location within your home or outside that can accommodate a multi-storied cage for multiple ferrets. It is recommended to have a cage with multiple decks, even for one ferret. If inside, you’ll have prepared a space before your pet’s arrival because the more area you have, the better.
Choose your location
Ferrets can live either indoors or outside- all they require is plenty of room to remain healthy, fit, and content. There are advantages and disadvantages to keeping a ferret outside. On the positive side, it ensures any smell from the toilet is kept out of your home. However, some argue that it could mean that your ferret is away from the family. It also increases the chances of your pet facing extreme weather and being susceptible to predators. Also, if your ferret manages to break free from the cage, it might run away.
Ferrets can be comfortable living inside with their families. They require a permanent, secured cage and play area to run about and freely roam outside their cage. Your indoor ferrets must have ample time outside their enclosures to prevent health problems such as joint mobility issues or obesity. However, keeping them inside means that you must deal with odors. After they’ve been neutered, their scent decreases dramatically. It is also essential to ensure that the cage is in a safe, ferret-friendly space free of hazards like electrical cords, plug sockets, gaps between the walls or windows, and plug-in diffusers/aerosols.
Determine The Dimensions
This is a challenging aspect- however, it’s not too difficult. If you adhere to the correct size guidelines, making the cage should be easy and will be a great addition to your pet’s routine for a long time.
The ideal size for housing is:
Outdoors – An 8.4ft (2.56 meters) length by 8ft (2.44 meters) width and 6ft (1.83 meters) tall (243 cm by 182 cm x 243 cm) run aviary/run with a covered sleeping area.
Indoors – An XL explorer enclosure (maximum of 2 ferrets) with access to a safe playroom for the ferrets for free-range times every day.
It is not necessary to increase this ratio to accommodate multiple ferrets. Add one foot for every additional ferret. Then, you should list the items you will require to construct the cage:
Wire cutters, rabbits wires, hooks, screws clippings, corrugated plastic, litter boxes, and dishes for the water, food, and other items.

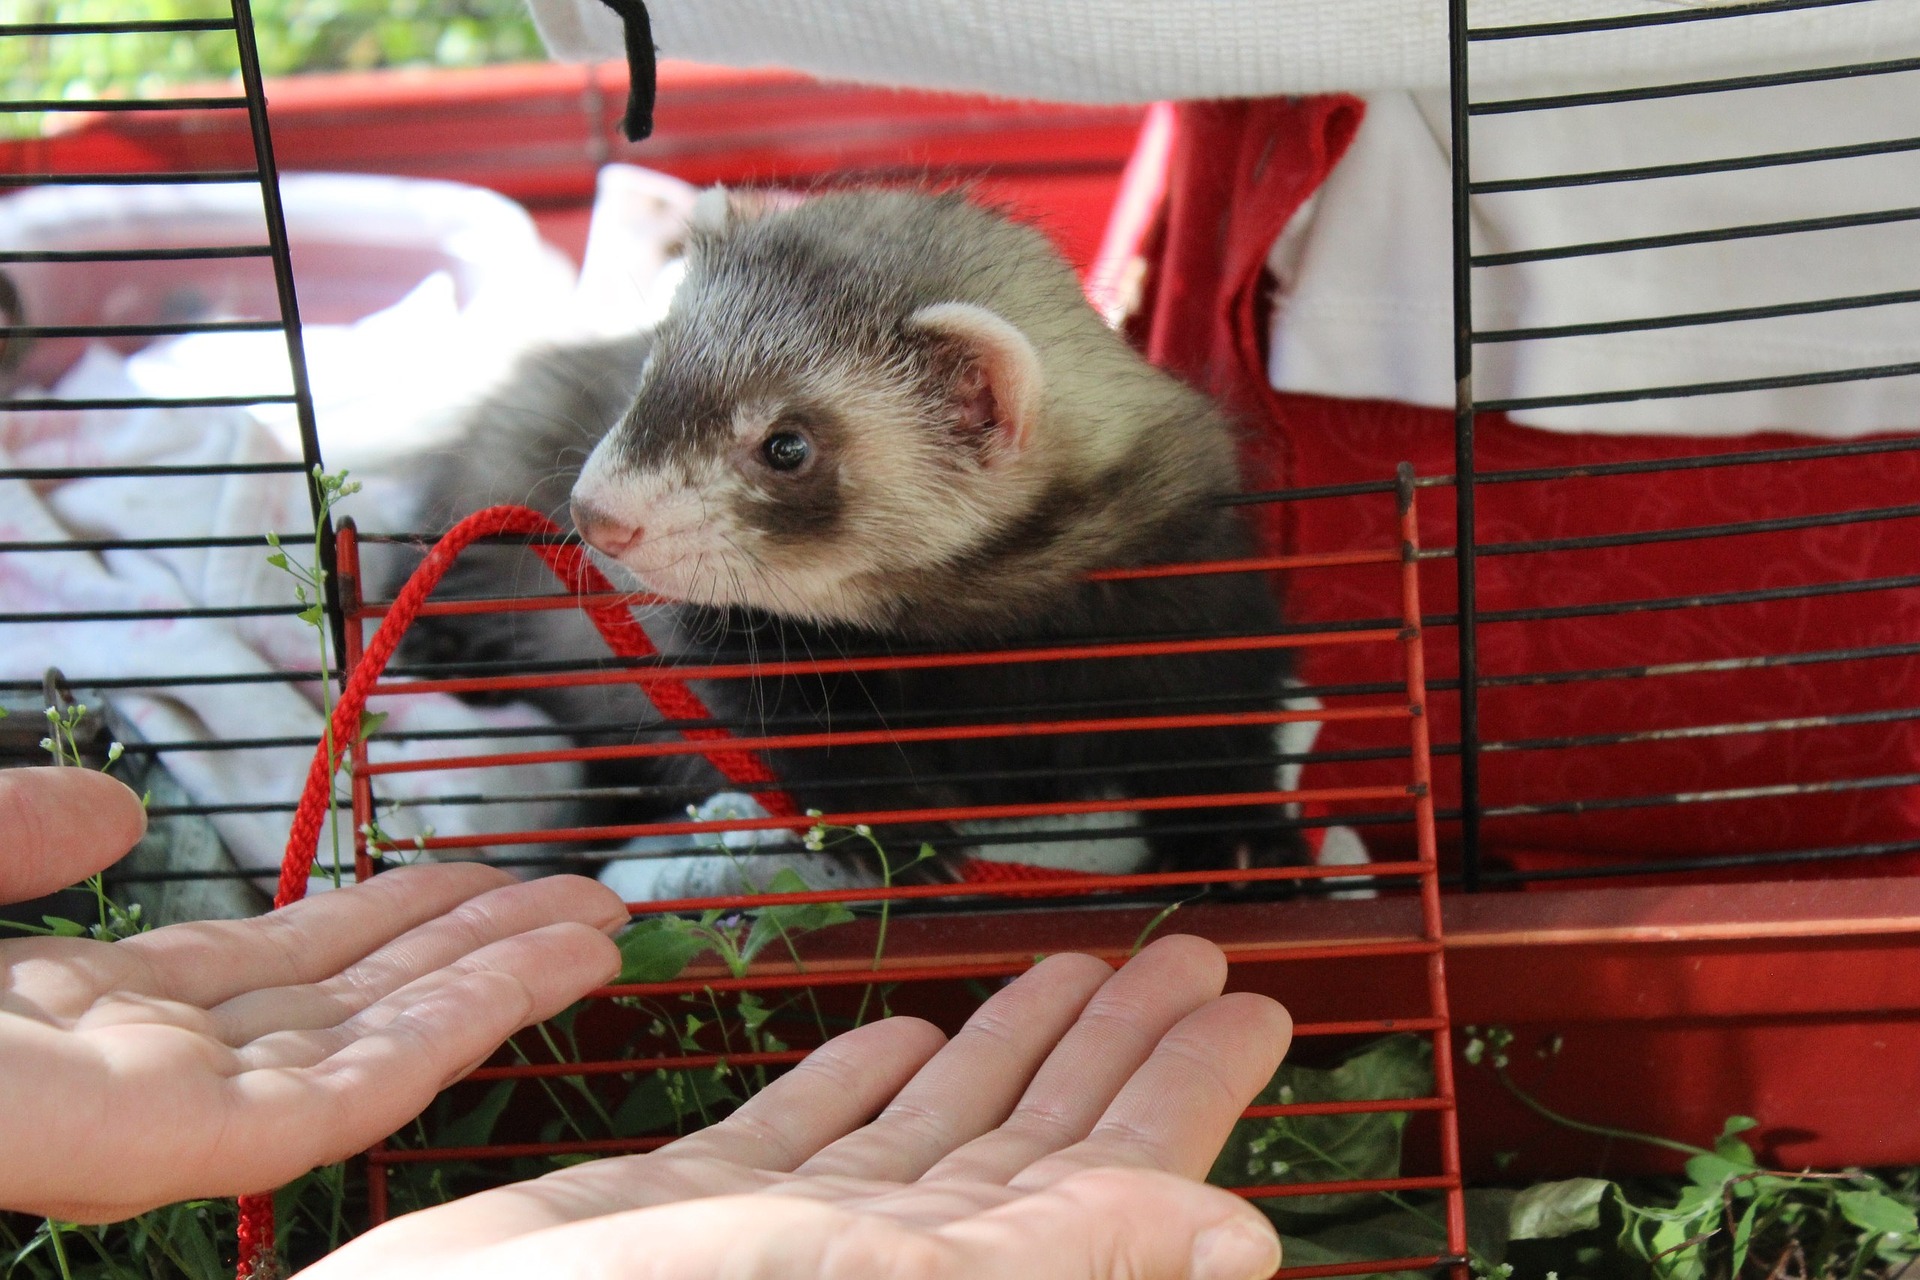
(ferret in hammock)
Frame & Flooring
When making the flooring or frame, it is important to be aware of the distance between the pieces to ensure the safety and health of ferrets. The ideal distance between pieces or bars is 2.5 centimeters or fewer. This will not permit your ferret through it. Also, ensure that there’s a minimum of 4-inches of space over the material used for the base. The space is crucial in the case of the spillage of litter and to shape up the cage. A sharp knife needs to be used for cutting and bending the extra plastic portion to form it into a structure identical to a box.
Measure The Mesh
There are two kinds of wire paneling: chicken wire and Weld (rabbit) mesh. The latter is joined between each weld and the grid as square. The rabbit mesh comes with the wire joined together to create the hexagonal grid. Chicken wire isn’t sturdy enough to withstand ferret gnawing. Mesh wire is a good choice for cages because it has joints at every weld rendering it nearly indestructible. These wires are self-supporting, can’t be easily twisted by the ferret, and keep the cage cool. This is why we will employ it as a fence to ensure it is difficult for the ferrets to escape.
Once you have all the components ready to build your frame and base, install the wires to cover the structure and the top of the enclosure. You must purchase the appropriate tools to put in rabbit wire since you will need to cut sections to serve different uses. It is not just cutting the wire to hold the frame but also used to make the base self-supporting. Then cut the wire to a dimension similar to the cut corrugated plastics with the wire cutter. Use a metal filer to trim any sharp points in the mesh so that you or your ferrets don’t get cut.
To make the cage’s opening, snip out a 6×6-inch piece of wire from the center to make a hole. Following that, you’ll need to cut a 5×5-inch mesh that will form the door. Also, secure the rabbit wire with many staples to stop ferrets from ripping the wire and squeezing out.
Structure The Cage Door
Use a 5-by-5 inch (-12.7 centimeters) rabbit wire to build the door for your cage. The dimensions of the door to the cage aren’t fixed. If you’re planning to construct an elaborate enclosure, building several doors or a big door that can accommodate two ferrets or more is sufficient. Some prefer to have one door per story, which is a great idea. Remember, when using rabbit wire as a door, make sure it doesn’t have any sharp edges, as they could harm your ferret.
Set Everything into Place
Make the pound by securing the mesh using plastic using J-clips or wire tie. It would be best if you connected the larger pieces first to create the shape of the cage. Connect the clips one after the other with a distance of around 3 inches (7.62 centimeters) to make it secure. The next step should be to fasten the wires together using J-clips and J-clip pliers. After completing one side, repeat the same steps on the other sides and the top.
After that, set down six-floor tiles that are 12 by 12 inches (ca. 30 cm) in dimensions. Use lighter-colored tiles to ensure that you see any spilled litter and clean it. After that, set the door using springs and hooks on the left and J-clips to the right. The door should be installed correctly so that the ferret does not flee.
Create slopes and racks within the cage using a 20 gauge wire. Remember to snip off sharp edges. Use wire ties liberally to secure the wire in place. Going overboard with the wire is recommended to ensure that your ferrets won’t gnaw it off. This makes an even more secure enclosure harder for ferrets to escape. Use hooks or clips to make sure the door stays shut but is easy for you to open.
Jazz It Up
Now it’s time to dress up your pet’s cage to make it look like the perfect place for your fur baby. Put a hammock in the pound to allow ferrets to lay down. It’s like a plaything and sleep space for them. They usually lay on it while they observe objects around them. A litter box must be set at one end of the enclosure, and an area for food and water dish on the other side. For keeping your ferret amused, make arrangements for toys like chew toys, rope toys, stuffed animals, tubes to run through, and play tents. Cut extra pieces of plastic to build ramps or other levels for ferrets to play on. After everything is set, your ferret is now ready to move into its new home.
If you find that a step is too difficult for you, you should think about purchasing a ready-made alternative to it. For example, ready-made doors and frames are easily available on the internet. All you have to do is connect them using hooks and clips to transform them into cages.