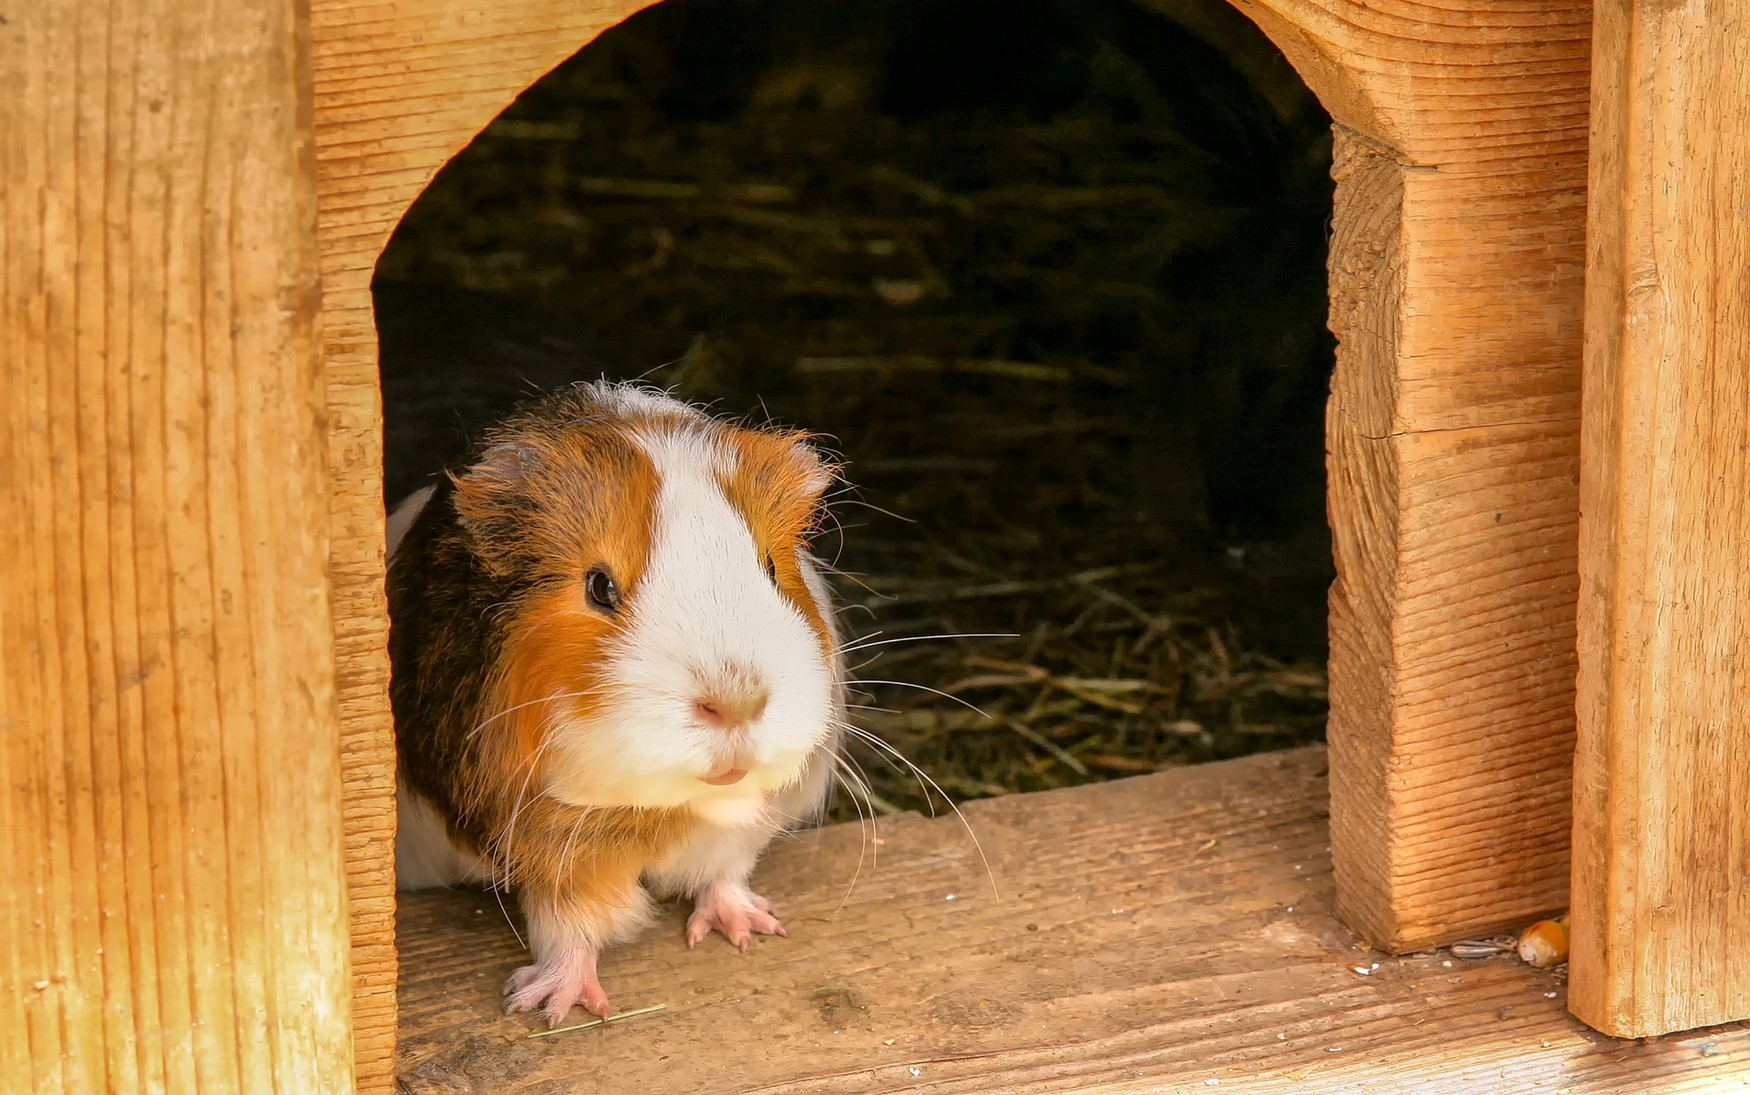

Image Source
A roomy cage is just what a guinea pig needs to be happy. Cavies are social animals that are often housed in pairs or small groups so that they constantly have company. So, there should be enough room for the guinea pigs to run and play. You can easily buy a cage for your guinea pig from pet stores and online shopping sites. But nothing beats a hand-crafted cage designed and constructed just for your pet. So, are you ready to learn how to make a guinea pig cage yourself?
Why should you build your own guinea pig cage?
· It is much more economical than a store-bought cage
· Several store-bought cages are small
· You get to add so many attractive components to the cage
· You can add different levels and ramps for your cavies to play
· Cleaning becomes easy as you build your cage based on your convenience
Features to consider when you finalize your guinea pig cage design
· For a single guinea pig, there should be at least 7.5 sq. ft of cage space. It goes to 10.5 sq. ft for 2 pigs and more. This optimal cage size recommendation is to ensure that your cavies run around and play. This is very important for them to be healthy.
· As you are building the cage from scratch you have full freedom over deciding the material of the cage. They are usually built with wood, mesh, acrylic, plastic, and a combination of other materials. Durability should be your prime concern when you build a cage.
· The design of the cage should be finalized based on the placement. Cages placed on tables should be built with higher walls and well-balanced structures.
· Make sure that your cage’s overall design aids in easy cleaning of the cage. Cavy cages need to be spot cleaned often and deep cleaned a few times a week.
· You should never go for a mesh base. Cavies have gentle feet and they can get permanently injured when made to walk on a wire base.
How to make a guinea pig cage yourself with wood – 5 easy steps
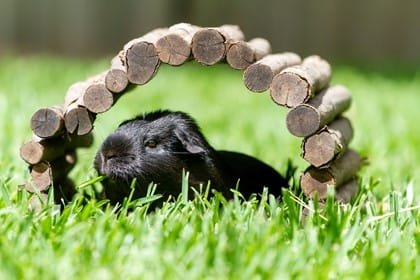
Image Source
If you are wondering how to make a guinea pig cage yourself considering the long term use, then a wooden cage or hutch would be the most suitable choice. These are easy to build and long-lasting. You can design them to be low maintenance cages. Multilevel hutches can be built by upgrading an old dresser or cabinet as well. But if you are looking to build on all by yourself, then here is what you need –
· Pine Wood
· Plywood
· Wire mesh
You would also need all the essential tools like drills, nails, clamps, and other hardware for assembling the cage. Once you have gathered the essential items here is how you construct the cage –
1. Start with creating a blueprint of the final cage design you wish to construct. Beginners can start with a simple single-level rectangular cage with a wooden base and wire mesh walls. These are easy to build and so versatile.
2. Cut out the pinewood in the desired dimensions. You would be constructing a frame using these pieces. You need 4 rectangular frames for the 4 walls of the cage. Make sure that the thickness and the width of the pieces are all the same. You can alter their lengths based on the size of each wall. Ensure that the wall is at least 12 to 18 inches in height. This will prevent your guinea pig from jumping out and injuring itself.
3. Join the cut pine wood pieces together to form individual frames. Before assembling the frames you should get the mesh walls installed.
4. Use a staple gun to affix the mesh to the frame and cut off excess wires. Ensure that there are no protruding wires where your guinea pig can get hurt. Alternatively, some even use acrylic sheets in place of the wire mesh. This works well if you plan to have an open top. For a closed hutch, wire mesh walls provide the best ventilation.
5. Assemble the frames together. Measure and cut the base from the plywood. Affix this to the assembled walls using nails.
Remember that wood would soak up all the moisture and get weak and brittle quickly. So, you should not forget to add a layer of tarp or any other waterproof base before you place the bedding.
How to make a guinea pig cage yourself if you need a C&C cage – 8 easy steps
While wooden cages are chic and durable, you cannot build one if you do not have all the right tools or some basic woodworking skills. This is where the much simpler and much more practical C&C cage comes into the picture. If you are wondering how to make a guinea pig cage yourself for simplifying the cage maintenance, C&C cages work really well. C&C cages are cube & coroplast cage. It gets its name from the two main ingredients required to construct it. Here is what you need to construct a C&C guinea pig cage.
· Grid cubes
· Connectors
· Zip ties
· Coroplast sheets
· Strong tape
The only tools you need to build C&C cages are a super-sharp cutter and scissors. With these supplies, you can build a C&C cage in a few easy steps.
1. Ensure that you only pick grids with 9×9 grid holes. These are small holes where your guinea pig cannot fit. With grids of larger holes, there is the risk of the guinea pig getting stuck.
2. For a single guinea pig, a 2×3 grid layout would be the minimum requirement. 2×4 makes an optimal choice for a single cavy or a pair. Arrange the grids and secure them snugly with the help of the circular connectors. Always use zip ties for additional strength. A single grid is around 12inches in its dimension and so a single grid height is sufficient if you only plan to build a single level of the cage.
3. Remember that you would only be building the walls with the grids. For the base, you would use the coroplast sheet.
4. Now for the base, measure the inside dimension of the rectangular frame built with the grids.
5. Trace the dimensions on the coroplast sheet. Measure 6inches from each of the 4 edges of the traced outline, on all sides and mark another boundary. This extra portion would be folded for the walls of the cage. You would notice 6 small squares in the four corners of the marked rectangular area. Cut out these squares so that you can fold the walls easily.
6. Use a cutter to score the sheet carefully along the lines ensuring that you do not cut through the sheet.
7. Fold the sheet along the scored lines and hold the pieces vertically. Adhere the walls by adding tape binding the adjacent pieces on the outside. This vertical piece is mainly to prevent your guinea pig from trying to squeeze itself out through the grid holes. You can also make a higher wall in the coroplast sheet if you have young guinea pigs that can easily escape through the holes.
8. Place the prepared coroplast base with walls inside the rectangular frame built with the grids and your guinea pig cage is ready for use.
These cages are modular and easy to dismantle as well. Adding extra space or even adding an extra level becomes so much easier when you are working with C&C cages. Even those who have no woodworking skills would be able to build some stunning looking C&C cages. In wooden cages, you would be able to add doors to the walls to let your cavy out during playtime. This is not possible with C&C cages.
Final touches for your guinea pig cage
Once you have built a beautiful cage for your guinea pigs make sure that you spend some time in planning the layout. This includes the placement of the water bottle, feeding bowl, and other accessories. There are many ways to toilet train a cavy and consistency in your cage layout would enhance your success rate in potty training the guinea pigs. Make sure that the water bottle and food bowls are easily accessible as you would be cleaning them every day.
From hammocks to tunnels you can add a variety of other activities for your cavies. Avoid hamster wheels in cavy cages. They have a weak spine and this can easily get injured upon going in a hamster wheel.
If you use a ramp, make sure that it is wide and not steep. There should be enough hiding places for every guinea pig in the cage. This will ensure that they do not fight for their territory.
You can use PVC pipes, with a diameter that is convenient for your guinea pig to go through, as tunnels. Hammocks and hiding huts for the cavies can also be easily built from old cardboard boxes and old clothes.
On a final note
After clearing all your doubts on how to make a guinea pig cage yourself you are all set to build that perfect abode for your pet. Make it open, spacious, and comfortable for your cavies. If they like their new cage, you are sure to witness their happy popcorning as a sign of approval.